Your phone acts up at the worst possible times—during important calls, when you need directions, or while taking photos. Before you spend hours on hold with tech support or rush to a repair shop, you can fix many common phone problems yourself in just a few minutes.
This guide is for anyone dealing with frustrating phone issues who wants quick, practical solutions. You don’t need to be tech-savvy to follow these steps.
We’ll walk you through solving battery drain that leaves you scrambling for chargers, apps that crash when you need them most, and storage warnings that pop up constantly. You’ll also learn how to fix connectivity issues and get your phone running smoothly again without paying for professional help.
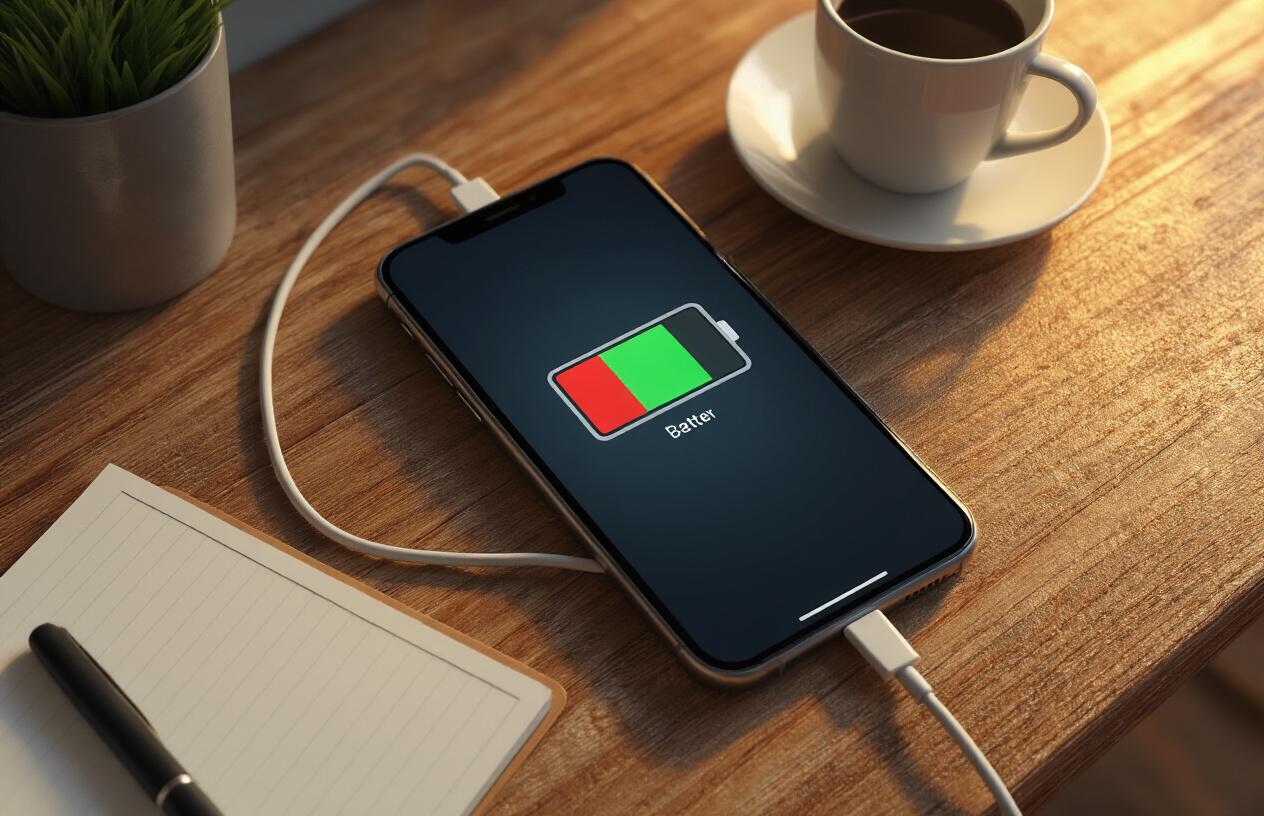
Battery Draining Too Fast
Close unnecessary background apps
Background apps are major battery vampires that continue consuming power even when you’re not actively using them. Your phone runs dozens of apps simultaneously, and many keep working behind the scenes, refreshing content, syncing data, and maintaining network connections.
For iPhone users: Double-tap the home button or swipe up from the bottom of the screen (depending on your model) to see all running apps. Swipe up on each app preview to close it. Focus on closing apps you haven’t used recently, especially social media, streaming, and gaming apps that tend to be resource-heavy.
For Android users: Tap the recent apps button (usually three lines or a square icon) and swipe away apps you don’t need running. You can also go to Settings > Apps > Running Apps to see which applications are consuming the most battery power.
Some apps restart automatically, which is normal for essential system functions. Don’t worry about closing these – your phone needs them to operate properly. Instead, target apps like Facebook, Instagram, games, video players, and music streaming services that you’re not currently using.
| App Type | Battery Impact | Action Needed |
|---|---|---|
| Social Media | High | Close when not in use |
| Games | Very High | Always close after playing |
| Streaming Apps | High | Close immediately after use |
| System Apps | Low | Leave running |
Reduce screen brightness and timeout settings
Your display consumes more battery power than any other single component on your phone. The brighter your screen and the longer it stays on, the faster your battery drains. Making simple adjustments to these settings can extend your battery life by several hours.
Brightness adjustments: Most phones have automatic brightness that adapts to your environment, but manual control often works better for battery conservation. Try reducing brightness to 30-50% during normal indoor use. You’ll be surprised how quickly your eyes adjust to the dimmer setting.
Screen timeout settings: This determines how long your screen stays on when you’re not actively using it. Change your screen timeout to 30 seconds or 1 minute instead of the default 2-5 minutes. Every second your screen stays on unnecessarily drains precious battery power.
Additional display tips:
- Use dark mode or dark wallpapers on OLED screens
- Turn off “Raise to Wake” features
- Disable always-on display unless absolutely necessary
- Reduce screen resolution if your phone offers this option
Turn off location services for non-essential apps
Location services constantly ping GPS satellites, cell towers, and WiFi networks to determine your position. While useful for navigation and weather apps, many applications request location access unnecessarily, creating a significant drain on your battery.
Review location permissions: Go to your phone’s privacy settings and examine which apps have location access. You’ll likely find apps like games, social media platforms, and shopping applications that don’t actually need to know where you are to function properly.
Smart location management:
- Set navigation apps (Google Maps, Waze) to “While Using App”
- Allow weather apps location access only when needed
- Disable location for social media apps unless you actively share your location
- Turn off location history and frequent locations in system settings
System location services: Both iPhone and Android have dozens of system-level location services that most users never need. Disable services like location-based ads, location analytics, and device location sharing unless you specifically use these features.
Disable push notifications for less important apps
Push notifications require your phone to maintain constant connections to various servers, checking for new messages, updates, and alerts. Each notification wakes your screen, activates the processor, and uses both battery and data.
Prioritize notifications: Keep notifications enabled only for truly important apps like messaging, phone calls, calendar events, and work-related applications. Disable them for games, social media, shopping apps, and news applications that send frequent, non-urgent updates.
Notification management strategies:
- Turn off badge app icons for less critical apps
- Disable notification sounds and vibrations for non-essential apps
- Use “Scheduled Summary” on iPhone to batch less important notifications
- Set “Do Not Disturb” schedules to reduce overnight battery drain from notifications
Email sync settings: Change email apps from “Push” to “Manual” or “Fetch” every 15-30 minutes instead of instant delivery. This single change can significantly improve battery life, especially if you have multiple email accounts configured on your device.
Phone Running Slowly
Clear cache and temporary files
Your phone stores temporary files and cache data from apps to help them load faster, but this digital clutter builds up over time and creates a performance bottleneck. Think of cache files like the crumbs that accumulate in your kitchen drawer – they serve no purpose after a while and just take up valuable space.
Android users can clear cache through Settings > Storage > Cached data, then tap “Clear” to remove all temporary files at once. For individual apps, go to Settings > Apps, select the problematic app, and tap “Clear Cache.” iPhone users have a different approach since iOS manages cache automatically, but you can offload unused apps through Settings > General > iPhone Storage and select “Offload Unused Apps.”
Browser cache often causes the most slowdown issues. Clear your mobile browser’s cache by going to the browser settings and selecting “Clear browsing data” or “Clear history and website data.” This removes stored website files that might be outdated or corrupted.
System cache can also bog down your device. Android users should try clearing the system cache partition by booting into recovery mode (hold power and volume buttons during startup), though this varies by manufacturer. This process removes temporary system files without affecting personal data.
Uninstall unused apps and games
Apps running in the background consume precious RAM and processing power, even when you’re not actively using them. Those mobile games you downloaded months ago and forgot about are still eating up resources and potentially sending notifications or updating themselves automatically.
Start by identifying resource-heavy apps through your phone’s built-in tools. Android users can check Settings > Battery > Battery usage to see which apps consume the most power and processing resources. iPhone users should go to Settings > Battery to view battery usage by app, which usually correlates with performance impact.
Remove apps you haven’t used in the past month. Don’t just hide them in folders – completely uninstall them. Games, social media apps, and photo editing tools typically consume the most resources. Pay special attention to apps that request multiple permissions or run constantly in the background.
Consider alternatives for apps you use occasionally. Instead of keeping heavy apps installed, use web versions through your browser when possible. Many services like Facebook, Twitter, and even some banking apps work well through mobile browsers without the overhead of dedicated apps.
Replace multiple apps with single, multipurpose alternatives. Instead of having separate apps for weather, news, and calendar, find one app that handles multiple functions well.
Restart your phone regularly
Regular restarts clear your phone’s RAM, stop runaway processes, and give your device a fresh start. Many people never turn off their phones, allowing memory leaks and background processes to accumulate over weeks or months.
Most performance issues disappear with a simple restart because it forces all apps to close completely and clears temporary files from memory. Apps sometimes don’t close properly when you swipe them away, continuing to run hidden processes that consume resources.
Restart your phone at least once a week, preferably more often if you’re a heavy user. Power off your device completely for 30 seconds, then turn it back on. This full shutdown cycle is more effective than just letting your phone go to sleep.
Schedule automatic restarts if your device supports this feature. Some Android phones allow you to set scheduled restarts during off-hours, ensuring your device gets regular fresh starts without interrupting your daily routine.
Watch for signs that indicate you need an immediate restart: apps taking longer to open, touchscreen becoming less responsive, unusual battery drain, or the phone feeling warm during light usage. These symptoms often point to memory management issues that a restart can resolve instantly.
Storage Space Running Low

Delete duplicate photos and videos
Your photo gallery probably holds more duplicates than you realize. Over time, smartphones automatically save multiple versions of the same image – burst photos, edited versions, screenshots you forgot about, and photos shared through messaging apps. Start by scrolling through your camera roll and manually deleting obvious duplicates. Look for nearly identical shots taken seconds apart or multiple copies of the same screenshot.
Most phones now include built-in duplicate detection tools. On iPhones, check the “Recently Deleted” album and use the “Select All” option to permanently remove photos you’ve already deleted. Android users can access Google Photos’ duplicate removal feature by searching for “duplicates” in the app. Third-party apps like Duplicate Photos Fixer or Gemini Photos can scan your entire library and identify duplicates automatically, saving you hours of manual sorting.
Videos consume significantly more space than photos, so pay special attention to duplicate video files. Check your messaging apps for automatically saved videos and delete ones you don’t need to keep permanently.
Move files to cloud storage
Cloud storage offers an immediate solution for freeing up local space while keeping your files accessible. Google Photos, iCloud, OneDrive, and Dropbox all provide automatic backup options that can upload your photos and videos as soon as they’re captured.
Set up automatic syncing to ensure new content gets backed up without manual intervention. Most cloud services offer 5-15GB of free storage, which handles thousands of photos. Once files are safely stored in the cloud, you can delete local copies while still viewing them through the cloud app when needed.
Don’t limit cloud storage to just photos. Upload documents, PDFs, music files, and other large files that you access occasionally. Create folders for different file types to stay organized and make retrieval easier.
Clear app caches and data
Apps accumulate temporary files, cached images, and stored data that can consume gigabytes of storage over time. Social media apps are particularly guilty of this, storing cached versions of posts, stories, and profile pictures you’ve viewed.
Navigate to your phone’s Settings > Apps (or Application Manager) and review storage usage for each app. You’ll see two options: “Clear Cache” and “Clear Data.” Clearing cache removes temporary files while preserving your login information and preferences. Clearing data resets the app completely, requiring you to log in again.
Start with clearing cache for apps like Facebook, Instagram, Twitter, and web browsers. These apps rebuild their cache naturally as you use them, but removing old cached data can free up significant space. For apps you rarely use, consider clearing both cache and data, or uninstalling them entirely.
Remove downloaded music and podcasts you no longer need
Streaming services like Spotify, Apple Music, and podcast apps allow offline downloads for listening without internet access. These downloads accumulate quickly and often contain content you’ve already listened to or no longer want.
Check your music app’s downloaded section and remove albums, playlists, or individual songs you’ve finished enjoying. Podcast apps typically store multiple episodes automatically, so review your subscriptions and delete old episodes. Most podcast apps let you set automatic deletion rules – episodes older than 30 days can be removed automatically.
Downloaded content from video streaming services also takes up substantial space. Netflix, Disney+, and other platforms let you download movies and shows for offline viewing, but these files are large and easy to forget about. Regularly review and remove downloaded videos you’ve already watched.
Apps Crashing or Freezing
Force Close and Restart Problematic Apps
When an app starts acting up, the quickest fix is often the simplest one. Force closing the troublesome app and restarting it clears temporary files and resets the app’s memory usage. On iPhones, double-tap the home button or swipe up from the bottom (depending on your model) to see all open apps, then swipe up on the problematic app to close it. Android users can access recent apps by tapping the square or three-line button, then swipe away the frozen app.
After force closing, wait a few seconds before reopening the app. This brief pause allows your phone’s system to fully release the app’s resources. Most app crashes happen because of memory conflicts or temporary data corruption, and this simple restart resolves about 70% of these issues immediately.
Some apps are notorious for hanging onto resources even after you think you’ve closed them. Social media apps, games, and streaming services are common culprits. If the same app keeps crashing, try restarting your entire phone after force closing the app – this nuclear option clears all temporary files and gives every app a fresh start.
Update Apps to Latest Versions
Outdated apps are crash magnets. Developers constantly release updates to fix bugs, improve stability, and ensure compatibility with newer phone operating systems. That annoying notification about app updates? It’s actually your phone’s way of preventing future headaches.
Check your app store regularly for pending updates. On iPhones, open the App Store, tap your profile picture, and scroll down to see available updates. Android users should open Google Play Store, tap the profile icon, select “Manage apps & device,” and look for apps with updates available.
Enable automatic updates to stay ahead of the game. Your phone can download and install app updates while you sleep or when connected to WiFi. This prevents the accumulation of multiple outdated apps that might conflict with each other or your phone’s current operating system.
Pay special attention to apps you use daily – email, messaging, banking, and social media apps. These get frequent updates because they handle sensitive data and need to stay compatible with security protocols. Running old versions of these apps often leads to crashes, especially after your phone’s operating system updates.
Clear App Cache and Data
Think of app cache as your app’s short-term memory – it stores temporary files to help the app load faster next time you use it. But sometimes this cache gets corrupted or overloaded, causing the app to freeze or crash. Clearing the cache is like giving your app a memory wipe without losing your personal settings.
On Android phones, go to Settings > Apps, select the problematic app, then tap “Storage” and choose “Clear Cache.” This removes temporary files but keeps your login information and preferences intact. For more persistent problems, tap “Clear Data” instead – but warning: this resets the app completely, so you’ll need to log in again and reconfigure settings.
iPhone users have fewer granular controls, but you can offload apps through Settings > General > iPhone Storage. Select the problematic app and choose “Offload App” to remove the app while keeping your data, then reinstall it fresh from the App Store.
Different apps accumulate cache at different rates. Photo editing apps, social media platforms, and streaming services build up cache quickly because they process lots of images and videos. Gaming apps often store large cache files for faster loading times. If you notice certain apps consistently slowing down or crashing, make clearing their cache part of your monthly phone maintenance routine.
Poor Call Quality and Dropped Calls
Check Signal Strength and Move to Better Location
Signal strength plays a massive role in call quality. When your phone shows one or two bars, you’re basically asking for trouble. The weaker your signal, the harder your phone works to maintain a connection, which leads to choppy audio, delays, and those annoying dropped calls.
Start by checking your signal indicator at the top of your screen. If you see fewer than three bars, your location is likely the culprit. Buildings with thick walls, basements, elevators, and areas surrounded by tall structures create dead zones where cellular signals struggle to penetrate.
Move around your space to find the sweet spot. Sometimes walking just a few feet toward a window or stepping outside makes all the difference. High floors in buildings often get better reception than ground level, so try heading upstairs if possible. Rural areas and places far from cell towers naturally have weaker signals, so positioning yourself closer to main roads or higher ground can help.
Keep in mind that weather affects signal quality too. Heavy rain, snow, and storms can interfere with cellular transmission, making temporary reception issues completely normal.
Clean Your Phone’s Microphone and Speaker
Dirt, lint, and pocket debris love to settle into your phone’s tiny openings, and these microscopic invaders can seriously mess with your call quality. When your microphone gets clogged, people can’t hear you clearly. When your speaker gets blocked, you can’t hear them.
Grab a dry toothbrush or a small paintbrush and gently sweep across the speaker grilles and microphone openings. Most phones have multiple microphones – one at the bottom for regular calls, one near the camera for noise cancellation, and sometimes one at the top for speakerphone calls. Clean all of them.
For stubborn buildup, use a toothpick to carefully dislodge debris, but be gentle to avoid pushing dirt deeper into the device. Compressed air cans work great for blowing out particles, but hold the can upright and use short bursts to prevent moisture from getting inside your phone.
Avoid using liquids or damp cloths near these openings. Even small amounts of moisture can damage internal components and make your problems worse instead of better.
Remove Phone Case That Might Block Antenna
Your phone case might look stylish, but some cases interfere with cellular and WiFi antennas without you realizing it. Metal cases are the biggest offenders because metal blocks radio frequencies. Even cases with metal accents, magnetic closures, or built-in stands can create interference.
Antenna locations vary by phone model, but they’re typically found along the edges of your device. iPhone antennas run along the metal bands around the sides, while Android phones often have antennas near the top and bottom edges. When cases cover these areas too completely or contain interfering materials, your signal strength drops.
Try removing your case completely and making a test call. If the quality improves dramatically, your case is the problem. You don’t have to go naked forever – just switch to a different case material. Silicone, rubber, and most plastic cases rarely cause interference issues.
Wallet cases and flip covers can be particularly problematic because they often contain magnets and metal components. The thick design also adds distance between your phone’s antennas and cell towers, weakening the connection even with compatible materials.
Phone Overheating Issues

Remove Phone from Direct Sunlight and Heat Sources
Your phone generates heat naturally during operation, but external heat sources can push temperatures to dangerous levels. Direct sunlight, car dashboards, and hot surfaces create the perfect storm for overheating. When your phone sits in temperatures above 95°F (35°C), its internal components work harder to maintain normal function, creating even more heat.
Move your device to a cooler location immediately when you notice it getting warm. Avoid leaving it in parked cars, near heating vents, or on surfaces that absorb heat. Even indoor locations like windowsills can reach surprisingly high temperatures during sunny days.
Close Resource-Intensive Apps and Games
Background apps consume processing power and generate heat continuously, even when you’re not actively using them. Gaming apps, video streaming services, and navigation tools are particularly demanding on your phone’s CPU and graphics processor.
Check which apps are running by accessing your recent apps menu and close anything you don’t need. Pay special attention to:
- Gaming applications that use 3D graphics
- Video streaming apps like YouTube or Netflix
- GPS navigation services
- Camera apps left running in the background
- Social media apps with auto-refreshing feeds
Force-closing these apps gives your processor a break and allows internal temperatures to drop naturally.
Remove Phone Case Temporarily to Improve Airflow
Phone cases trap heat against your device, preventing natural cooling through air circulation. Thick cases, leather materials, and cases with multiple layers create insulation that works against you when temperatures rise.
Taking off your case for 10-15 minutes allows heat to dissipate more effectively. Place your phone on a flat, cool surface where air can circulate around all sides. This simple step often provides immediate relief for overheating issues.
Reduce Screen Brightness and Disable Unnecessary Features
Your phone’s display consumes significant battery power and generates heat, especially at maximum brightness. Lowering brightness to 50% or enabling auto-brightness helps reduce thermal load immediately.
Turn off features that aren’t essential right now:
- Bluetooth and WiFi when not needed
- Location services for non-critical apps
- Background app refresh for social media
- Push notifications that wake your screen frequently
- Live wallpapers and animated backgrounds
These adjustments reduce the workload on your phone’s processor while maintaining core functionality.
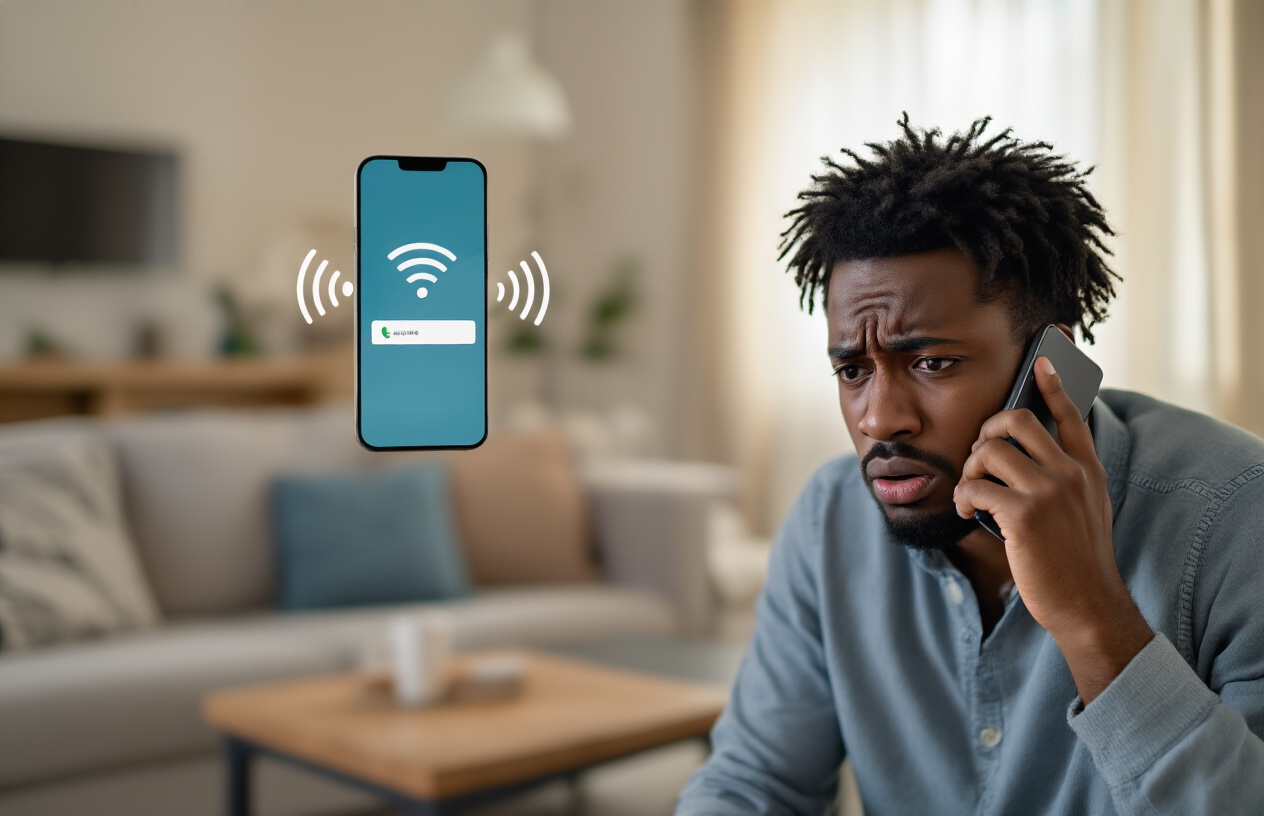
WiFi Connection Problems
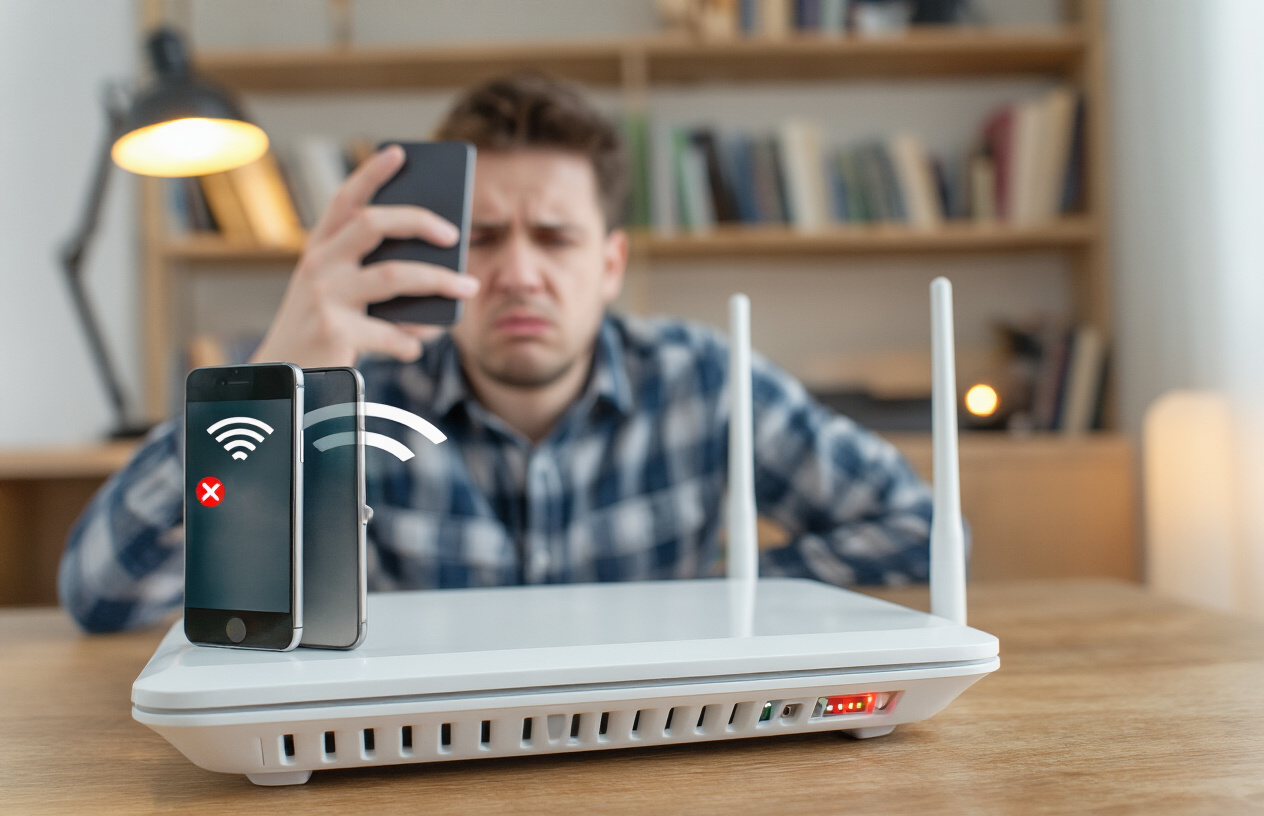
Forget and Reconnect to WiFi Network
When your phone keeps dropping WiFi or connects but won’t actually access the internet, the simplest fix is often forgetting and reconnecting to your network. This solution clears out corrupted connection data that might be causing problems.
Start by opening your phone’s WiFi settings and finding your network in the list. On most phones, you’ll see an “i” icon or gear symbol next to connected networks. Tap this, then look for “Forget Network” or “Forget This Network.” Your phone will completely remove all saved information about that connection, including passwords and security settings.
After forgetting the network, wait about 30 seconds, then reconnect as if it’s a brand new network. You’ll need to enter your password again, but this fresh connection often solves stubborn WiFi issues. This method works particularly well when you’ve recently changed your router settings or updated your phone’s software.
Reset Network Settings on Your Phone
Network settings can get tangled up over time, especially if you connect to lots of different WiFi networks or travel frequently. Resetting these settings gives you a clean slate without affecting your photos, apps, or personal data.
On iPhones, go to Settings > General > Transfer or Reset iPhone > Reset > Reset Network Settings. Android users should look for “Reset Network Settings” under Settings > General Management or System, though the exact location varies by manufacturer.
This reset clears all WiFi passwords, mobile data settings, and Bluetooth connections. You’ll need to reconnect to your home WiFi and re-pair any Bluetooth devices afterward, but many users find this solves persistent connection problems that other methods can’t fix. Before doing this, make sure you know your WiFi passwords since you’ll need to enter them again.
Move Closer to WiFi Router
Distance and obstacles dramatically affect WiFi performance, even in small homes. Walls, floors, metal objects, and even large appliances can block or weaken your signal, causing slow speeds or dropped connections.
Test this by moving to the same room as your router. If your connection improves significantly, you’ve found the culprit. WiFi signals work best within about 30 feet of the router, but thick walls or multiple floors can cut this range in half.
Common signal blockers include refrigerators, microwaves, fish tanks, mirrors, and concrete walls. Even your router’s position matters – placing it on the floor or in a closed cabinet can hurt performance. Try elevating your router to a central, open location away from other electronics. If moving closer consistently fixes your problems, consider investing in a WiFi extender or mesh network system to boost coverage throughout your home.
Touchscreen Not Responding Properly
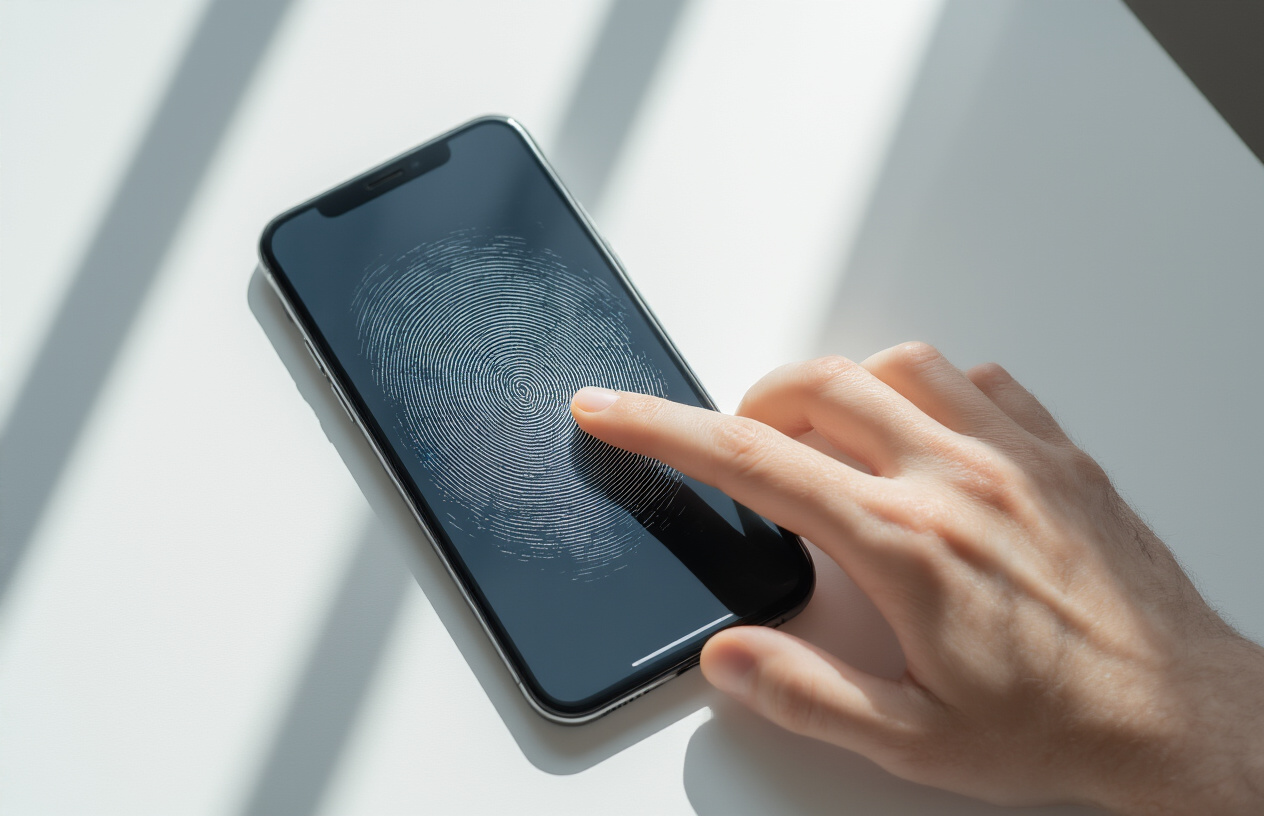
Clean Screen with Microfiber Cloth
Your phone screen collects more grime than you might realize. Fingerprints, dust, oils from your skin, and everyday debris create an invisible barrier between your finger and the touch sensors. This buildup can significantly impact touchscreen responsiveness, making taps feel delayed or unregistered.
Start by powering off your phone completely. This prevents accidental touches while cleaning and makes it easier to see dirty spots on a dark screen. Grab a clean microfiber cloth – the same type used for cleaning glasses or camera lenses works perfectly. Avoid paper towels, tissues, or rough fabrics that could scratch your screen.
Gently wipe the screen in circular motions, applying light pressure. Pay special attention to areas where you frequently touch, like the keyboard area and navigation buttons. For stubborn spots, slightly dampen the cloth with distilled water. Never spray liquid directly onto your phone, as moisture can seep into ports and damage internal components.
If you don’t have a microfiber cloth handy, the soft interior lining of a clean t-shirt works as a temporary solution. Cleaning your screen regularly – ideally daily – prevents buildup from affecting touch sensitivity and keeps your display crystal clear.
Remove Screen Protector if Bubbled or Damaged
Screen protectors develop problems over time that directly interfere with touch functionality. Air bubbles, cracks, or lifted edges create dead zones where your touches won’t register properly. Even small bubbles can throw off the touch calibration, making precise tapping frustrating.
Examine your screen protector carefully under good lighting. Look for:
- Air bubbles that weren’t there initially
- Cracks or chips in the protector material
- Lifted edges that catch debris underneath
- Cloudy or discolored areas from wear
- Scratches that feel rough to the touch
When removing a damaged screen protector, start at one corner and peel slowly. Use a plastic card or your fingernail to lift the edge, then pull steadily at a 45-degree angle. Going too fast can leave adhesive residue on your screen.
Clean off any leftover adhesive using the microfiber cloth method described above. Some stubborn residue might need a tiny amount of distilled water, but be extremely careful around ports and buttons.
You can absolutely use your phone without a screen protector temporarily while deciding on a replacement. Modern smartphone screens are quite durable, and a few days without protection won’t cause damage under normal use.
Restart Phone to Refresh Touchscreen Calibration
Software glitches affecting touch response are more common than hardware failures. Your phone’s touchscreen calibration can drift over time, especially after installing new apps, system updates, or when the device has been running continuously for days without a restart.
A simple restart clears temporary files, refreshes system processes, and recalibrates the touchscreen sensors. This process often resolves phantom touches, delayed responses, or areas of the screen that seem less sensitive.
For most smartphones, hold the power button for several seconds until the shutdown menu appears, then select restart. If your touchscreen is completely unresponsive, try these alternative restart methods:
| Phone Type | Force Restart Method |
|---|---|
| iPhone 8 and newer | Press volume up, then volume down, then hold power button |
| iPhone 7/7 Plus | Hold power + volume down buttons together |
| Samsung Galaxy | Hold power + volume down buttons for 10 seconds |
| Google Pixel | Hold power button for 30 seconds |
After restarting, test different areas of your screen systematically. Open various apps, try typing, and check if previously problematic spots now respond normally. Most touch-related software issues resolve immediately after a restart.
If problems persist after trying all three solutions, you might be dealing with hardware damage that requires professional repair. However, these simple fixes resolve the majority of touchscreen issues without any technical expertise or special tools.
Phone Won’t Turn On or Charge
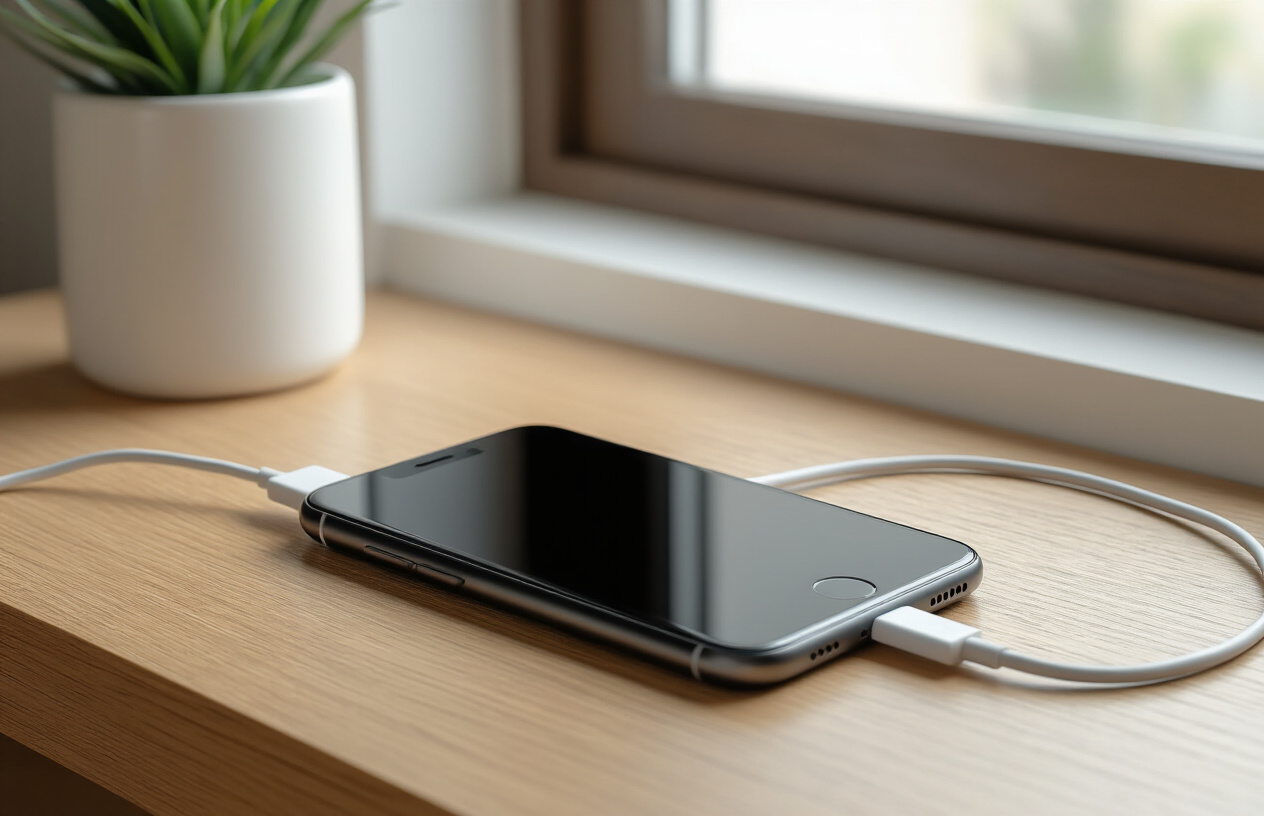
Try Different Charging Cable and Adapter
When your phone won’t turn on or charge, the problem often lies with your charging accessories rather than the device itself. Charging cables and adapters wear out over time, developing internal breaks or loose connections that prevent proper power transfer. Start by swapping out your current cable for a different one, preferably an original or certified replacement. Many counterfeit cables lack the proper wiring or use inferior materials that can fail without warning.
Test your phone with multiple cables and adapters if possible. Sometimes the cable works fine, but the power adapter has failed. Wall adapters can burn out due to power surges or simply age-related component failure. USB ports on computers or car chargers can also provide enough power to test whether your phone responds to different power sources. If your phone starts charging with a different cable or adapter, you’ve identified the culprit and can replace the faulty accessory.
Clean Charging Port with Compressed Air
Dust, lint, and debris commonly accumulate in charging ports, creating a barrier between your cable and the phone’s charging contacts. This buildup is especially common if you carry your phone in pockets, bags, or purses where particles can easily enter the port. Compressed air offers a safe, effective method to remove this obstruction without damaging delicate internal components.
Hold your phone with the charging port facing downward and use short bursts of compressed air to dislodge debris. Avoid using cotton swabs, toothpicks, or other objects that could push debris deeper into the port or damage the charging contacts. The goal is to create a clear path for your charging cable to make proper contact with the internal connectors.
Perform Hard Reset by Holding Power Button
A hard reset forces your phone to restart completely, clearing temporary software glitches that might prevent normal startup or charging recognition. This process differs from a regular restart because it cuts power to all components and reinitializes the system from scratch. The exact method varies by device, but most phones require holding the power button for 10-30 seconds until the device responds.
Some smartphones need a combination of buttons pressed simultaneously. iPhones, for example, might require holding both the power and volume buttons together. Android devices vary by manufacturer, with some needing the power and volume down buttons held together. Check your device’s manual or manufacturer website for the specific button combination. After performing the hard reset, attempt to charge your phone again, as this often resolves charging recognition issues.
Check for Physical Damage to Charging Port
Physical damage to the charging port can prevent your phone from accepting power, even when using working cables and adapters. Inspect the port carefully using a flashlight or phone’s built-in flashlight feature. Look for bent or broken pins inside the port, which are small metal contacts that connect with your charging cable. These pins can bend if cables are inserted forcefully or at wrong angles.
Water damage also affects charging ports, causing corrosion that blocks electrical connections. If you see white, green, or blue residue inside the port, this indicates corrosion from liquid exposure. Cracks in the port housing or loose-feeling connections when plugging in cables suggest structural damage that typically requires professional repair. Physical damage usually means the port needs replacement, which involves opening the device and requires technical expertise.
Most phone issues that seem scary can actually be fixed right at home with a few simple tricks. Battery problems, slow performance, storage headaches, app crashes, call quality issues, overheating, WiFi troubles, unresponsive screens, and charging problems all have straightforward solutions you can try before calling for help. Simple steps like restarting your phone, clearing cache, managing your storage, or checking your settings can save you hours of waiting and potentially expensive repair bills.
The next time your phone starts acting up, don’t panic or immediately assume you need professional help. Try these basic troubleshooting steps first – you’ll be surprised how often they work. Keep this guide handy and share it with friends and family who always seem to have phone troubles. Taking a few minutes to try these fixes yourself can keep your phone running smoothly and your wallet happy.

Saurabh Kumar is the founder of SaurabhOrbit.com, a hub for tech news, digital marketing insights, and expert blogging advice. With a deep passion for technology and digital strategies, Saurabh simplifies complex trends into actionable insights for readers looking to stay ahead in the digital world. My mission is to empower entrepreneurs, tech enthusiasts, and marketers with the latest tools and knowledge to thrive in the online space.