Creating your first WordPress site feels overwhelming, but you can actually get a professional website up and running in just 30 minutes. This guide is perfect for complete beginners, small business owners, and anyone who wants to build their online presence without technical headaches or expensive developers.
You’ll learn how to set up hosting and get WordPress installed automatically, then customize a theme that makes your site look polished from day one. We’ll also cover the essential pages every website needs and which plugins will add the functionality that keeps visitors coming back.
By the end of this tutorial, you’ll have a fully functional WordPress site ready to showcase your business, blog, or personal brand.
Choose Your WordPress Hosting and Domain Setup
Select a reliable hosting provider with one-click WordPress installation
Your hosting provider will be the foundation of your WordPress site, so picking the right one makes a huge difference. Look for providers that offer one-click WordPress installation – this feature saves you from manually downloading files and configuring databases. Popular options like Bluehost, SiteGround, and DreamHost all provide this convenience.
When comparing hosting plans, focus on these key features:
- Storage space: Start with at least 10GB for a basic site
- Bandwidth: Unlimited or generous monthly limits
- SSL certificate: Should be included for free
- Customer support: 24/7 live chat or phone support
- Uptime guarantee: Look for 99.9% or higher
Shared hosting works perfectly for new WordPress sites and typically costs $3-10 per month. You can always upgrade later as your site grows. Most hosting providers also include email accounts, which adds professional credibility to your new website.
Register your domain name or connect an existing one
Your domain name becomes your website’s address on the internet. Many hosting providers offer free domain registration for the first year when you sign up for hosting, which can save you $10-15. If you already own a domain, you’ll need to connect it to your new hosting account.
Choose a domain that’s:
- Easy to remember and spell
- Related to your business or topic
- Short and simple
- Avoids hyphens or numbers
If your preferred .com domain isn’t available, consider alternatives like .net, .org, or newer extensions like .blog or .shop. Keep in mind that .com domains are still the most trusted and memorable for visitors.
Access your hosting control panel and locate WordPress installer
Once your hosting account is active, you’ll receive login credentials for your control panel (usually cPanel or a custom dashboard). This is your command center for managing everything related to your website.
Look for the WordPress installer, which might be labeled as:
- “One-Click Install”
- “WordPress”
- “Softaculous Apps Installer”
- “Auto Installer”
The exact location varies by host, but it’s typically found in a “Website” or “Software” section. Some hosting providers even start the WordPress installation process automatically after you complete your hosting setup, making the process even smoother.
Install WordPress in Minutes Using Auto-Installer
Navigate to the one-click installation tool in your hosting dashboard
Most modern web hosting providers offer one-click WordPress installations through user-friendly control panels. You’ll typically find this feature in your hosting dashboard under names like “Auto Installer,” “Softaculous,” “QuickInstall,” or “WordPress Installer.” Popular hosting providers like Bluehost, SiteGround, and HostGator prominently display these tools on your main dashboard.
Look for WordPress logos or installation icons in your control panel. Some hosts place these tools in a dedicated “Website” or “Applications” section. If you’re using cPanel, scroll down to the “Software” section where you’ll find installation scripts. The process varies slightly between hosting providers, but the core functionality remains consistent across platforms.
Don’t worry if your dashboard looks different from tutorials you’ve seen online. Hosting companies regularly update their interfaces, but the WordPress installation option is always clearly labeled. When in doubt, check your hosting provider’s knowledge base or contact their support team for specific guidance on locating their auto-installer.
Configure basic site settings and admin credentials
Once you’ve clicked the WordPress installation option, you’ll see a configuration form with several important fields. Start by selecting your domain name from the dropdown menu. If you want WordPress installed in your main domain’s root directory (recommended for most users), leave the “In Directory” field blank. Adding a subdirectory like “blog” would install WordPress at yoursite.com/blog instead.
Choose a strong admin username that’s not “admin” or your site name, as these are common targets for hackers. Create a complex password with uppercase letters, lowercase letters, numbers, and special characters. Many auto-installers generate secure passwords automatically – save this information immediately.
Fill in your admin email address carefully, as you’ll receive important WordPress notifications here. Select your preferred language from the dropdown menu. Some installers ask for your site title and tagline during this step, though you can easily change these later in your WordPress dashboard.
| Setting | Recommendation | Why It Matters |
|---|---|---|
| Admin Username | Unique, not “admin” | Security against brute force attacks |
| Password | 12+ characters, mixed case, symbols | Protects against unauthorized access |
| Admin Email | Valid, monitored address | Receives security and update notifications |
| Site Title | Your business/blog name | Appears in search results and browser tabs |
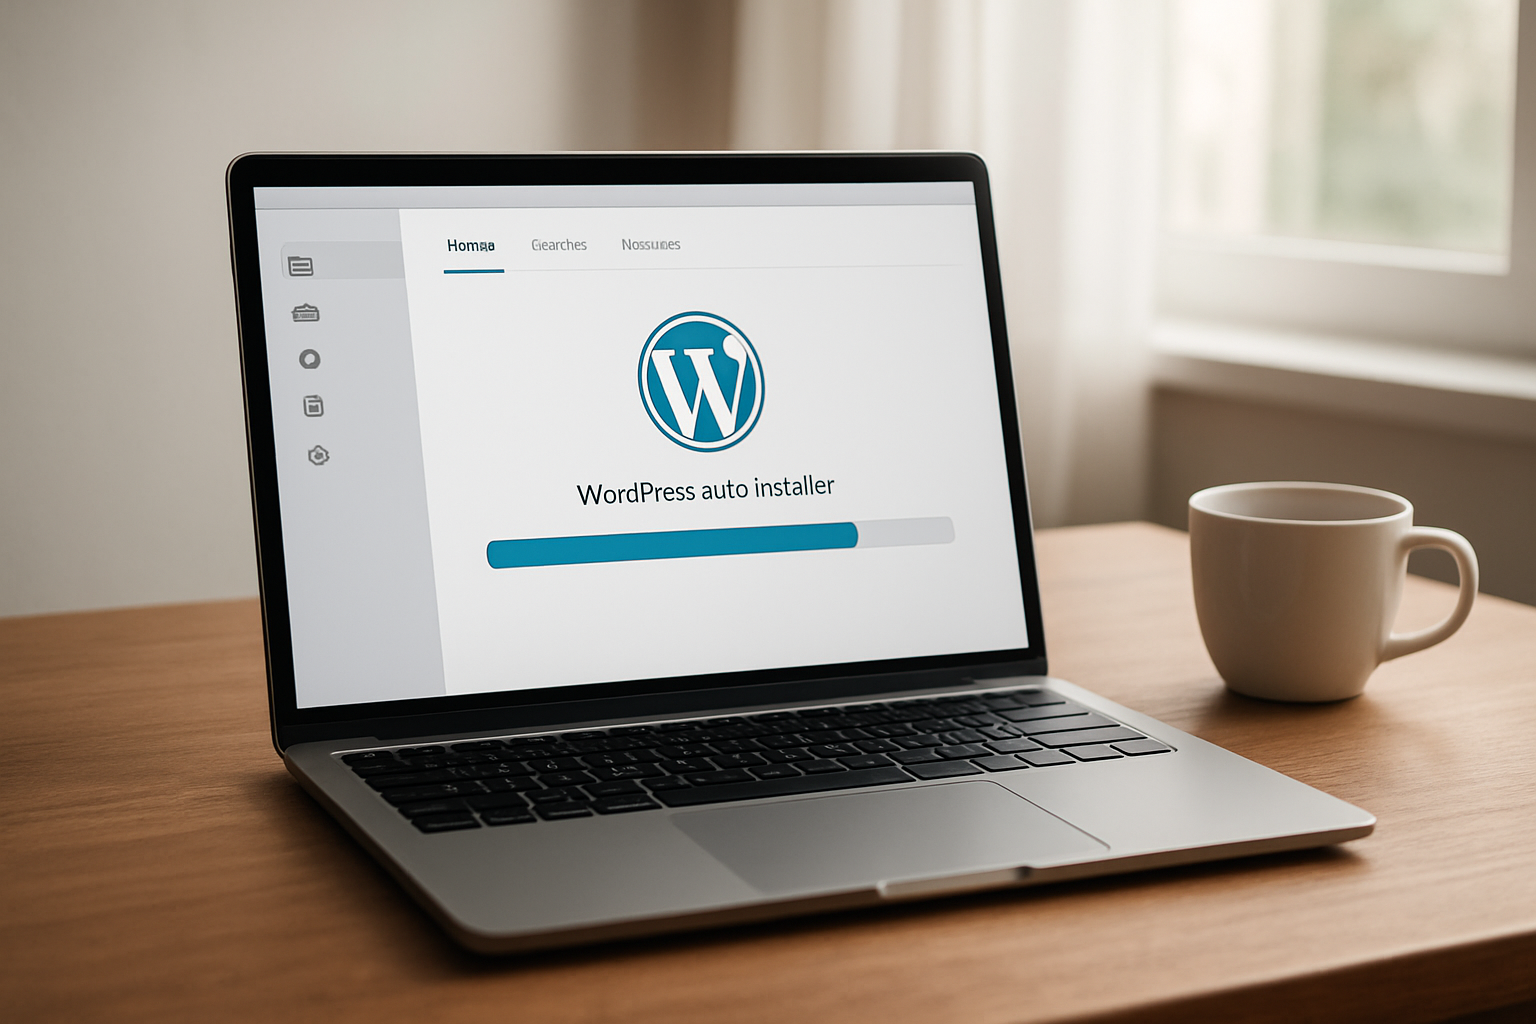
Complete the automated installation process
Click the “Install” button and watch the magic happen. The auto-installer will download the latest WordPress files, create your database, and configure all necessary settings. This process typically takes 2-5 minutes, depending on your hosting server’s speed.
You’ll see a progress bar or status messages showing the installation steps. Don’t navigate away from this page or close your browser during installation. Once complete, you’ll receive confirmation with your new WordPress site URL and admin login details.
Save these credentials in a secure password manager immediately. The installer usually provides two important links: your website’s front-end URL (what visitors see) and your admin dashboard URL (typically yoursite.com/wp-admin). Test both links to confirm everything works properly.
Some hosting providers automatically send installation details to your email address. Keep this information safe, as you’ll need these credentials every time you want to access your WordPress dashboard. Your WordPress site is now live and ready for customization.
Select and Customize Your WordPress Theme
Browse the theme library for mobile-responsive designs
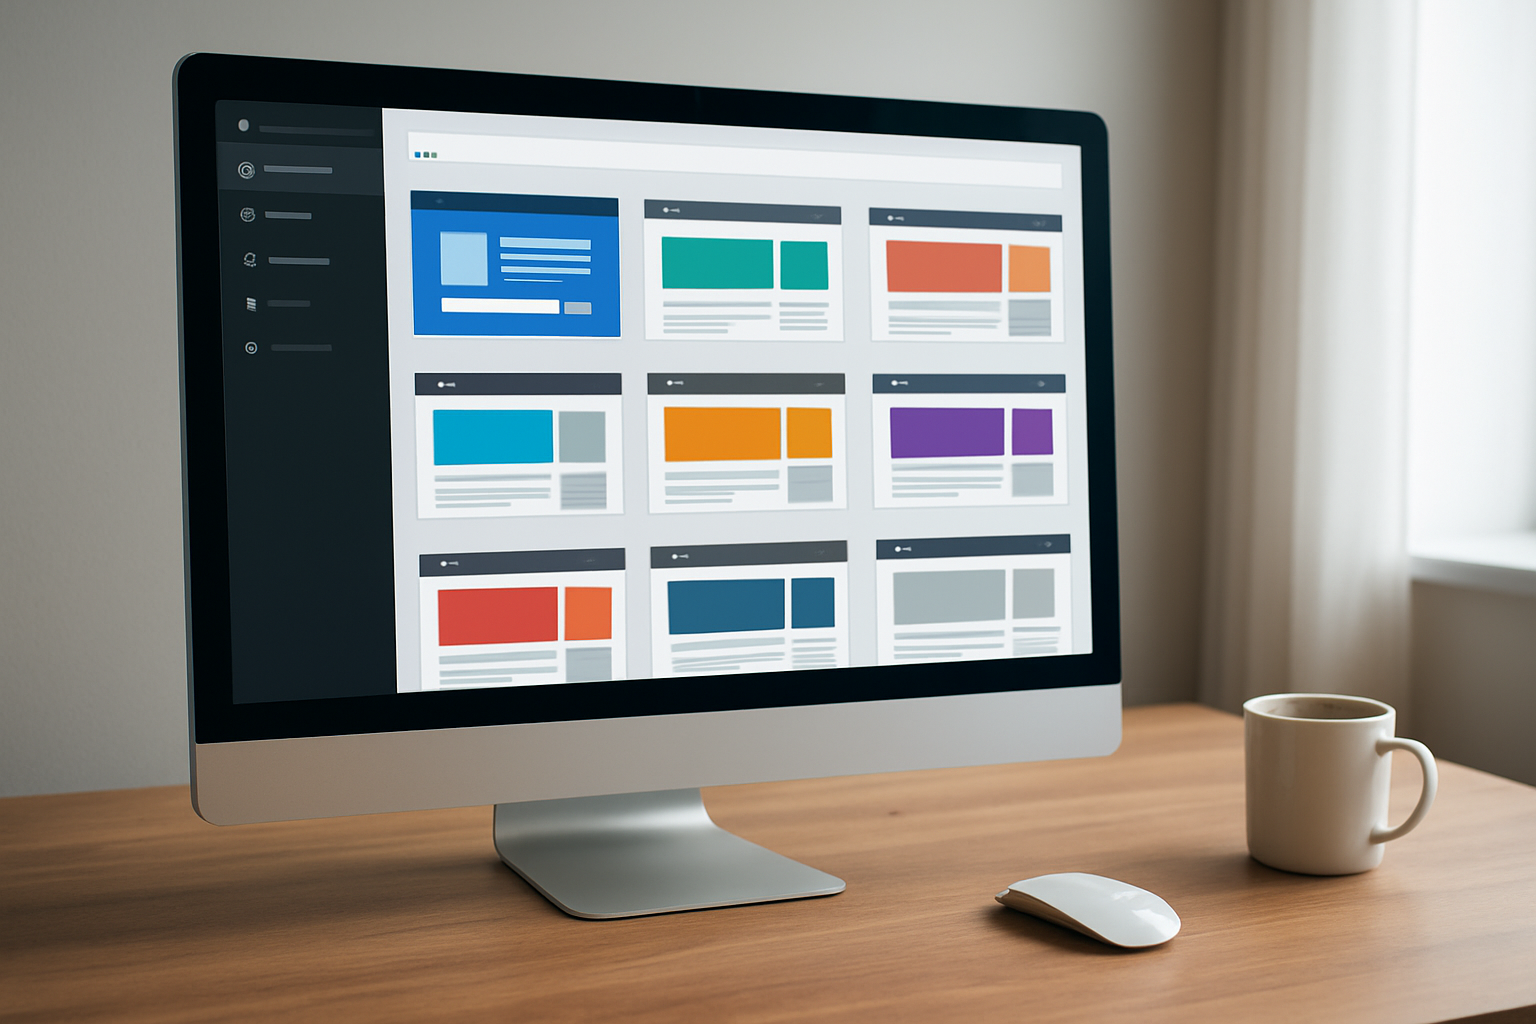
WordPress offers thousands of free themes through its official directory, and finding the right one sets the foundation for your site’s success. Navigate to Appearance > Themes in your WordPress dashboard and click “Add New” to access the theme library. The search filters become your best friend here – always check the “Mobile Responsive” filter since over 60% of web traffic comes from mobile devices.
Look for themes with clean, professional designs that match your website’s purpose. Business sites benefit from minimalist layouts with clear navigation, while creative portfolios can handle more visual flair. Pay attention to the theme’s last update date and active installations – popular, recently updated themes receive better support and security updates.
Preview themes before installing by clicking the “Preview” button. This shows how your content will look without affecting your live site. Check how the theme handles different page layouts, blog posts, and contact forms during preview mode.
Install your chosen theme with one click
Once you’ve found the perfect theme, installation takes seconds. Click “Install” on your chosen theme, then immediately click “Activate” to make it live on your site. WordPress handles all the technical work behind the scenes, copying theme files and updating your database.
Some premium themes require manual upload. Download the theme’s ZIP file from the developer, then go to Appearance > Themes > Add New > Upload Theme. Select your ZIP file and click “Install Now.” The process remains just as simple.
Customize colors, fonts, and layout using the theme customizer
The WordPress Customizer gives you real-time control over your theme’s appearance. Access it through Appearance > Customize, where you’ll see your site preview alongside customization options. Changes appear instantly in the preview, letting you experiment without breaking anything.
Start with colors that match your brand. Most themes offer primary and secondary color options that automatically update buttons, links, and headers throughout your site. Choose fonts that reflect your brand personality – serif fonts convey tradition and elegance, while sans-serif fonts feel modern and clean.
Layout options vary by theme but typically include sidebar positions, header styles, and footer configurations. Test different combinations to see what works best for your content. The customizer saves your changes as you work, but they won’t go live until you click “Publish.”
Upload your logo and set site branding elements
Your logo transforms a generic theme into your unique brand presence. In the Customizer, find the “Site Identity” section to upload your logo image. WordPress automatically resizes logos, but uploading the correct dimensions saves loading time. Most themes work best with logos around 250-300 pixels wide.
Set your site title and tagline in this same section. Even if your logo includes your business name, keep the site title filled out for search engine optimization. The tagline appears in search results and browser tabs, so write something descriptive about what you do.
Many themes let you choose whether to display your site title alongside your logo or hide it completely. This flexibility helps you achieve the exact look you want. Some themes also offer favicon upload options – that tiny icon that appears in browser tabs next to your site name.
Remember to configure your site’s color scheme to complement your logo colors. This creates visual harmony that makes your brand feel cohesive and professional from the moment visitors land on your site.
Create Essential Pages and Navigation
Set up your homepage with compelling content
Your homepage serves as the digital front door to your business, so make it count. Start by adding a clear headline that tells visitors exactly what you do within seconds. Skip the clever wordplay and go straight for clarity – something like “Professional Web Design for Small Businesses” works better than “We Make Digital Dreams Come True.”
Below your headline, add 2-3 sentences that explain how you help people solve their problems. Include a prominent call-to-action button like “Get Started,” “Learn More,” or “Contact Us” that stands out with contrasting colors.
Add social proof elements like customer testimonials, logos of companies you’ve worked with, or quick stats about your success. People trust businesses more when they see others have had positive experiences.
Keep your homepage content scannable with bullet points highlighting your main services or benefits. Most visitors spend only 15 seconds deciding whether to stay or leave, so make every word count.
Create an About page to build trust with visitors
Your About page ranks among the most visited pages on any website, yet many business owners treat it as an afterthought. This page should tell your story in a way that connects with your target audience.
Start with why you started your business – the problem you noticed and decided to solve. Share your background and expertise, but keep the focus on how this benefits your customers rather than just listing credentials.
Include a professional photo of yourself or your team. People buy from people they trust, and putting a face to your business builds that connection instantly. If you’re camera-shy, even a casual photo works better than stock images or no photo at all.
Add your values and what makes your approach different from competitors. Be specific about your process or philosophy. Instead of saying “we provide excellent customer service,” explain what that looks like – maybe you respond to emails within 2 hours or offer free revisions.
End with a soft call-to-action that invites visitors to take the next step, whether that’s booking a consultation, checking out your services, or getting in touch.
Add a Contact page with forms and contact information
Your Contact page removes friction between interested visitors and potential sales. Make it as easy as possible for people to reach you by offering multiple contact options.
Create a simple contact form with fields for name, email, subject, and message. Avoid asking for unnecessary information – each additional field reduces form completion rates. Add a brief note about when they can expect to hear back from you.
Display your business address, phone number, and email address clearly. Even if you work from home, consider getting a PO Box for a more professional appearance. Include your business hours so people know when to expect responses.
If location matters for your business, embed a Google Map showing your office or service area. This helps with local SEO and gives visitors confidence about your legitimacy.
Consider adding links to your social media profiles and any other ways people can connect with you, like scheduling software for consultations or messaging apps you actively monitor.
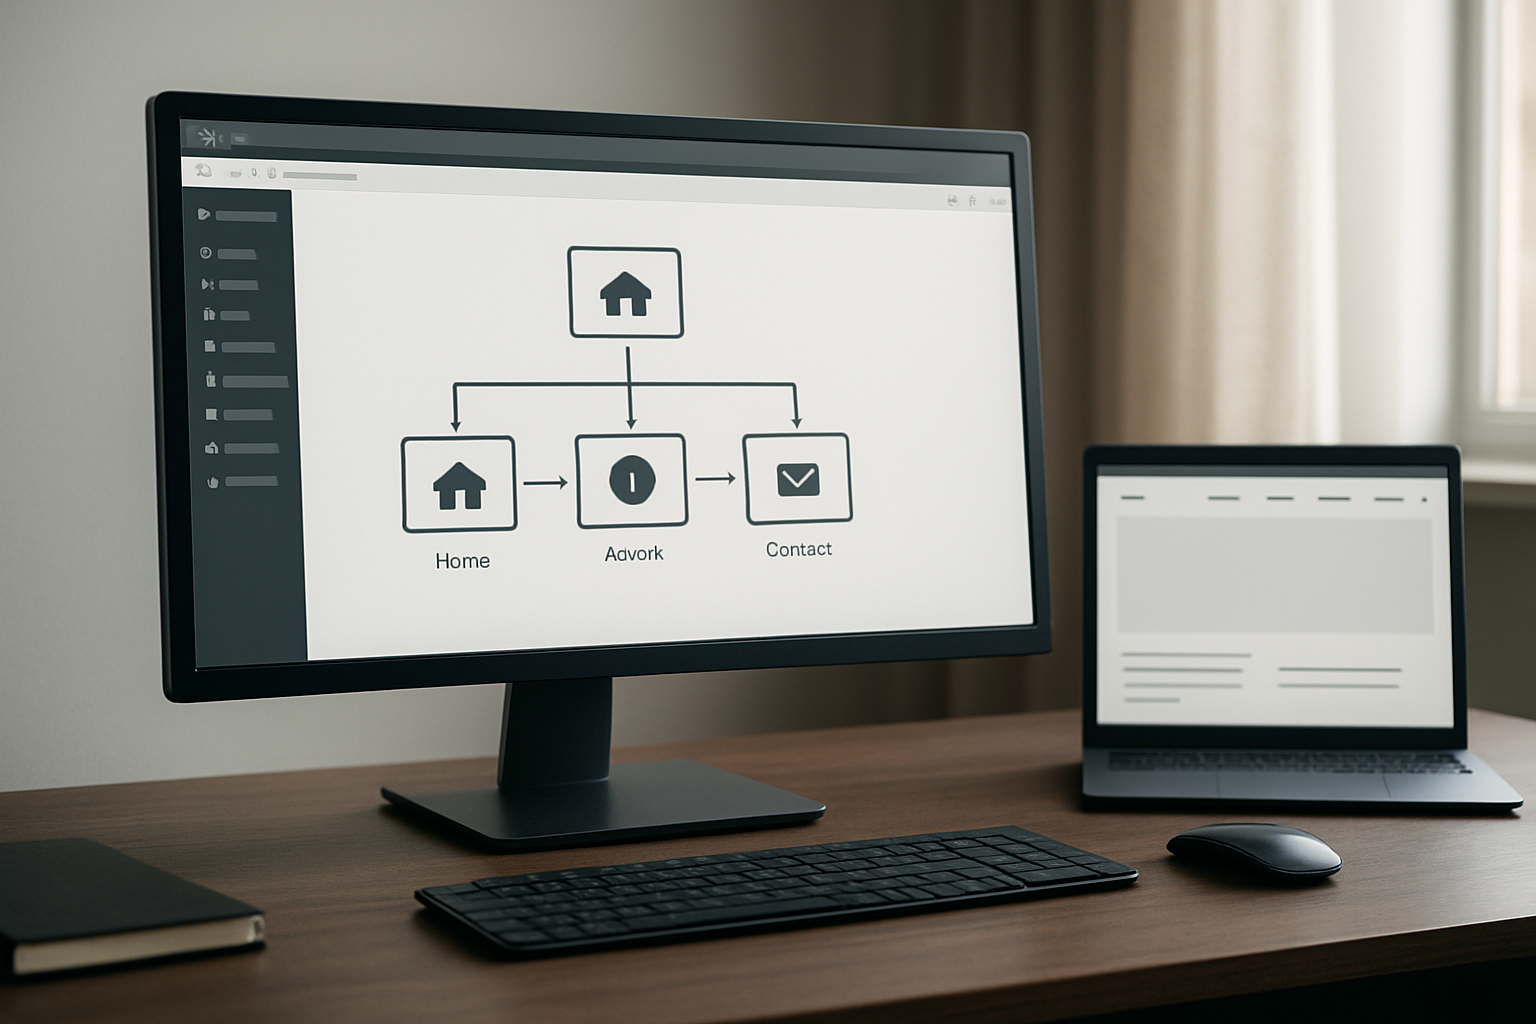
Configure your main navigation menu structure
Your navigation menu acts as a roadmap for visitors, guiding them to the most important information about your business. Keep your main menu simple with 5-7 items maximum – anything more creates decision paralysis.
Start with the essentials: Home, About, Services (or Products), and Contact. These four pages form the foundation of most successful small business websites. Add other pages like Blog, Portfolio, or Resources based on your specific needs.
Use clear, descriptive labels instead of creative names. “Services” works better than “What We Do,” and “About” beats “Our Story.” Save the creativity for your content, not your navigation.
Organize your menu in order of importance and logical flow. Most visitors scan from left to right, so put your most important pages first. Many successful sites follow this pattern: Home, About, Services, Portfolio, Blog, Contact.
Test your navigation on mobile devices since over half of web traffic comes from smartphones. Make sure menu items are easy to tap with thumbs and that dropdown menus work smoothly on touch screens.
Set up a footer menu with secondary links like Privacy Policy, Terms of Service, and any additional resources. This keeps your main navigation clean while still providing access to important but less-frequently accessed pages.
Install Must-Have Plugins for Functionality

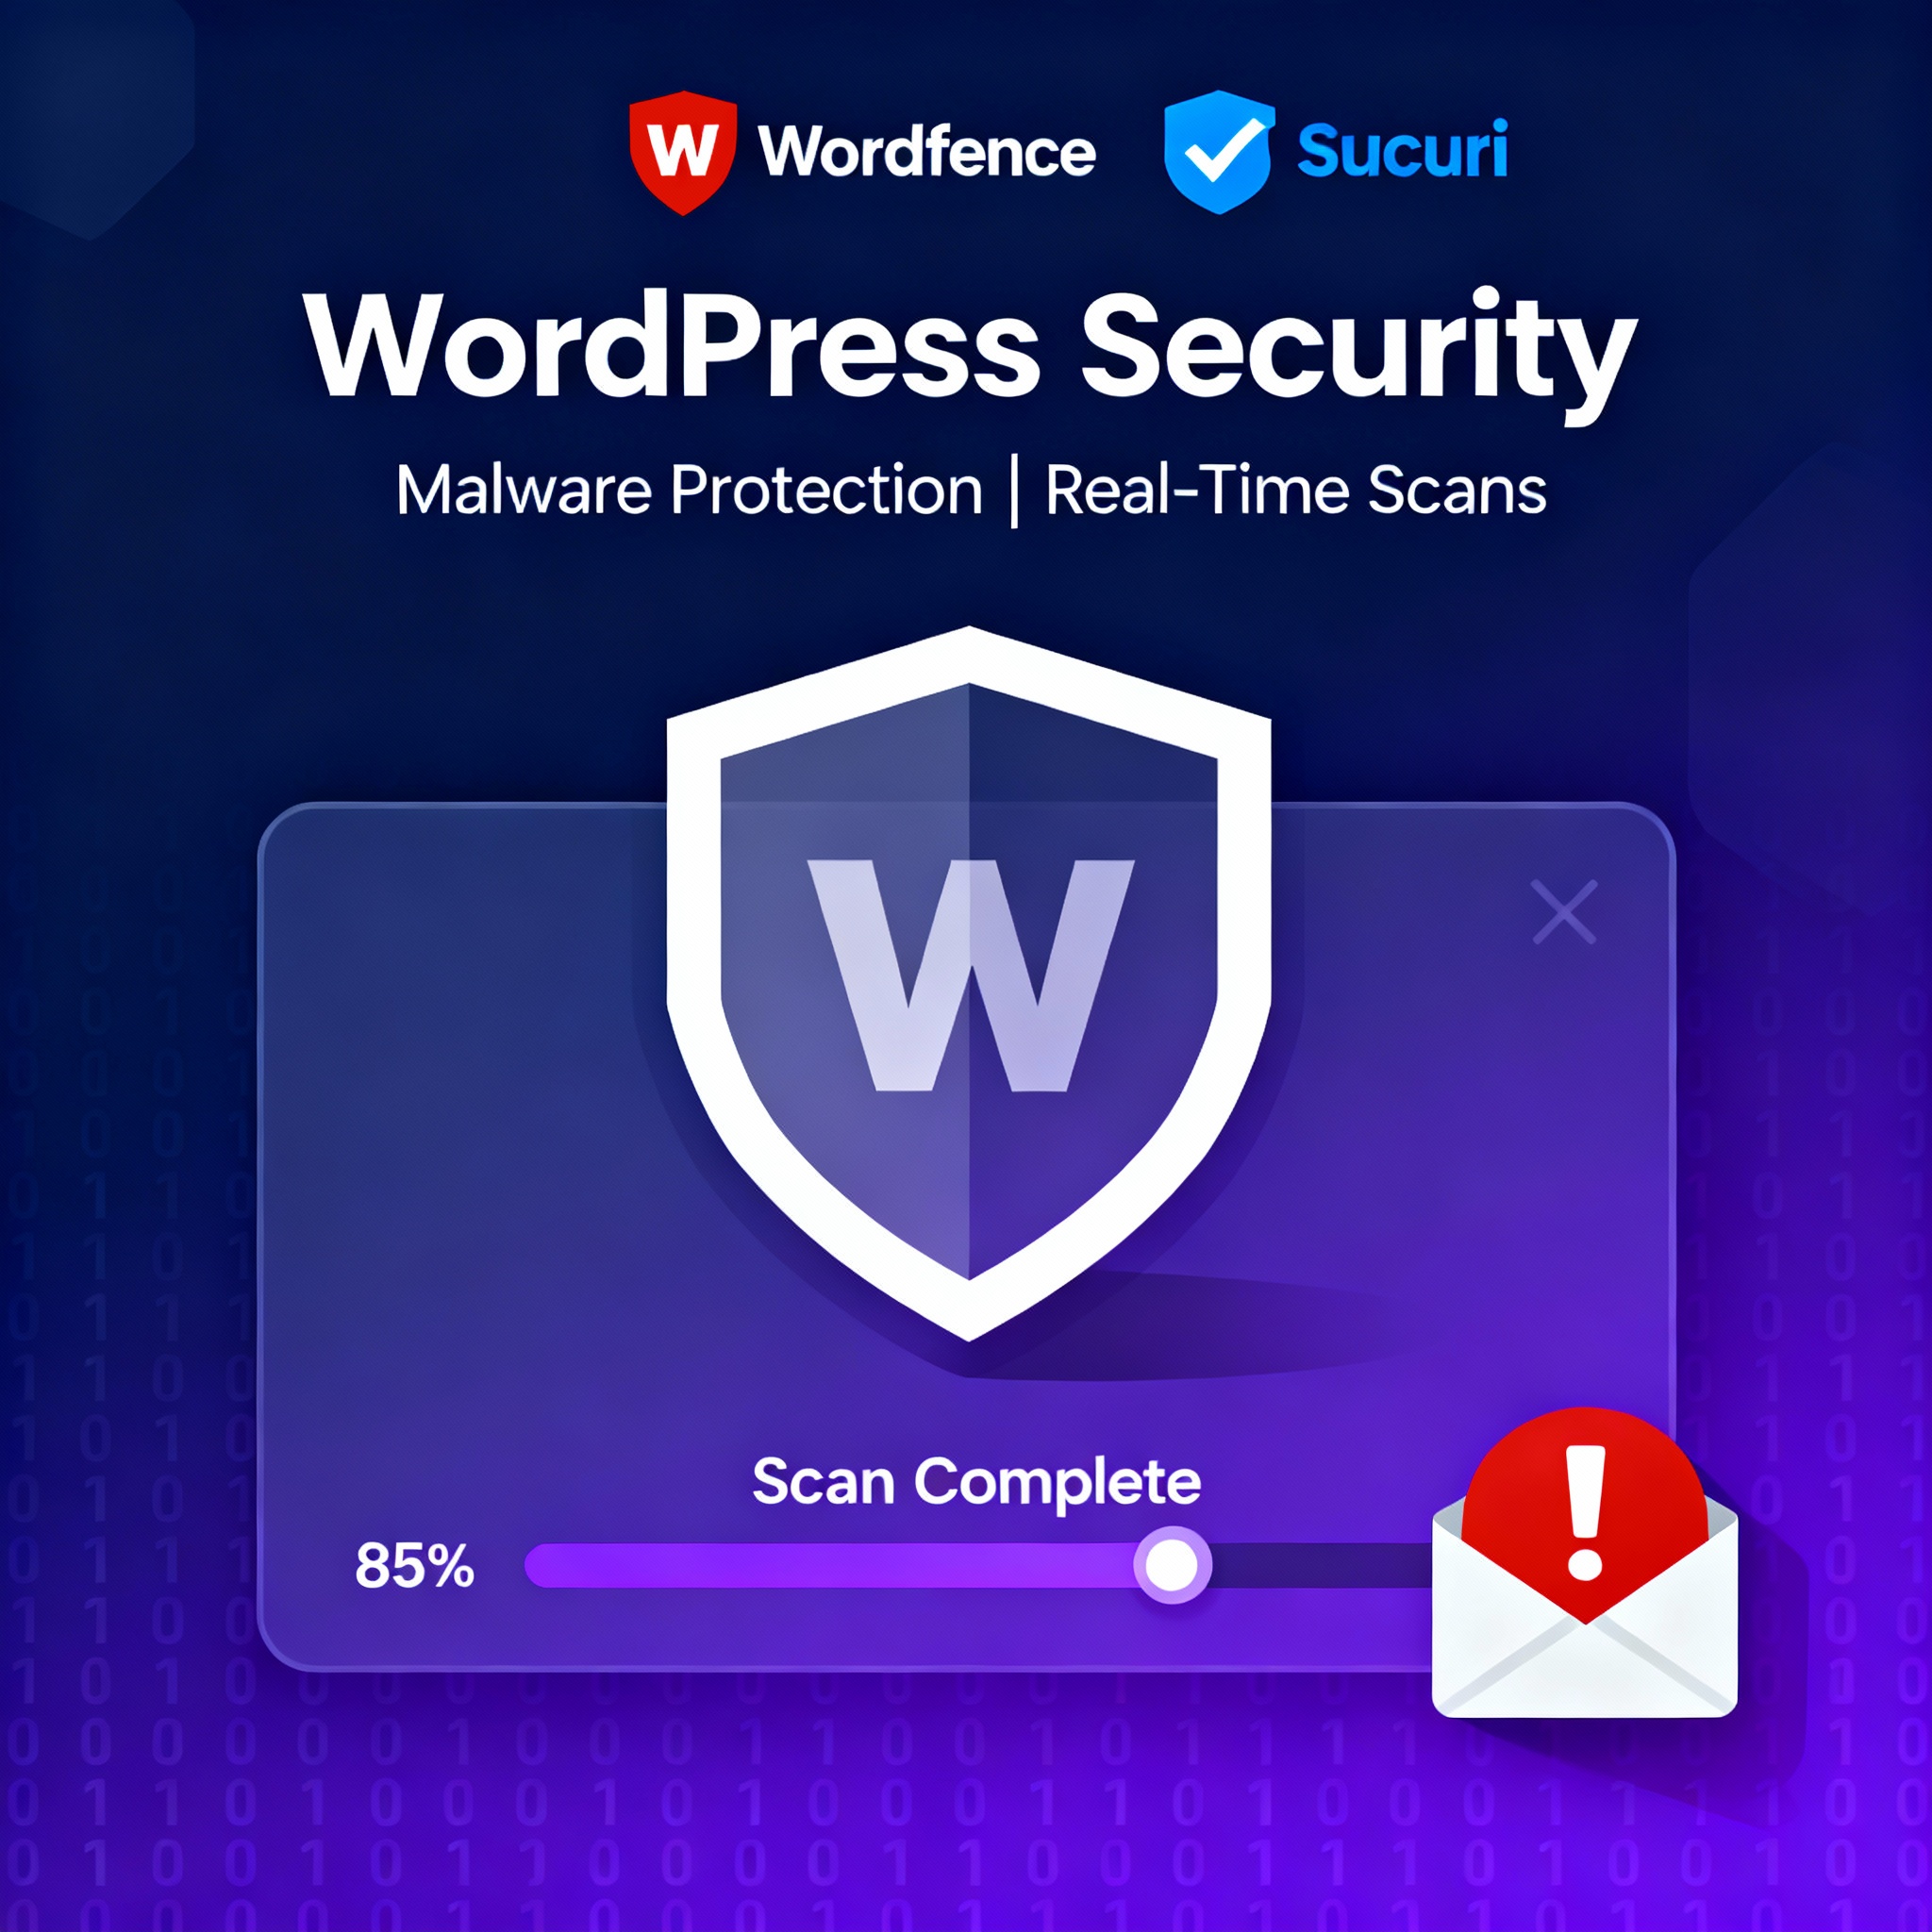
Add a Security Plugin to Protect Your Site
Your new WordPress site needs protection from hackers, malware, and brute force attacks. Security plugins act as your first line of defense, monitoring your site 24/7 and blocking suspicious activity before it causes damage.
Wordfence stands out as the most comprehensive free security solution. After installing it from the WordPress plugin directory, you’ll get real-time firewall protection, malware scanning, and login attempt monitoring. The setup wizard walks you through enabling key features like two-factor authentication and email alerts for suspicious activity.
Sucuri Security offers another solid option with its website firewall and malware cleanup services. Both plugins provide detailed security reports showing blocked attacks and potential vulnerabilities.
During setup, enable these critical features:
- Firewall protection to block malicious traffic
- Login security to prevent brute force attacks
- File integrity monitoring to detect unauthorized changes
- Regular malware scans to catch infections early
Most security plugins offer premium versions with advanced features, but the free versions provide excellent baseline protection for new sites.
Install an SEO Plugin for Search Engine Optimization
Search engines need help understanding your content, and SEO plugins make your site more discoverable by optimizing how search engines read your pages.
Yoast SEO remains the gold standard for WordPress SEO. After installation, it adds an SEO analysis box to every post and page, giving you real-time feedback on your content’s search engine friendliness. The plugin automatically generates XML sitemaps, optimizes your meta descriptions, and helps you choose focus keywords for better rankings.
RankMath offers a newer alternative with a more modern interface and additional features in its free version. Both plugins guide you through essential SEO tasks like:
- Title and meta description optimization for better click-through rates
- Keyword density analysis to avoid over-optimization
- Internal linking suggestions to improve site structure
- Social media integration for better sharing
- Schema markup to help search engines understand your content
The initial setup wizard asks about your site type and business goals, automatically configuring settings for optimal performance. You’ll see immediate improvements in how search engines index and display your content.
Set up a Backup Plugin for Site Protection
Website backups protect against data loss from hacking attempts, server failures, or accidental deletions. Creating regular backups ensures you can restore your site quickly if something goes wrong.
UpdraftPlus simplifies the backup process with scheduled automatic backups and one-click restoration. The free version backs up your entire site to cloud storage services like Google Drive, Dropbox, or Amazon S3. You can schedule daily, weekly, or monthly backups depending on how frequently you update your content.
BackupBuddy and VaultPress offer premium alternatives with additional features like real-time backups and malware scanning.
Essential backup settings include:
- Automatic scheduling for hands-off protection
- Cloud storage integration to keep backups off your server
- Full site backups including files, database, and media
- Easy restoration process for quick recovery
Set up your first backup immediately after configuring your site. Test the restoration process on a staging site to ensure your backups work correctly. Store backup copies in multiple locations – never rely on a single backup method.
Configure Basic WordPress Settings for Launch

Adjust Permalink Structure for SEO-friendly URLs
WordPress automatically assigns URLs that look like yoursite.com/?p=123, but these mean nothing to search engines or visitors. Click on Settings > Permalinks in your dashboard to fix this immediately. The best choice for new sites is Post name, which creates clean URLs like yoursite.com/how-to-build-wordpress-site instead of cryptic numbers.
Custom structures work well too if you want dates or categories in your URLs. Just remember that once you launch and start getting traffic, changing permalinks can break existing links. Pick your structure now and stick with it.
Set Up User Roles and Permissions
WordPress comes with built-in user roles that control what people can do on your site. As the site owner, you’re an Administrator with full control. If you plan to have writers, give them Editor access so they can publish posts but can’t mess with your theme or plugins.
Navigate to Users > Add New to create accounts for team members. Contributors can write posts but need approval before publishing, while Subscribers can only comment and view content. Authors fall somewhere in between – they can publish their own posts but can’t edit others’ work.
Never share your Administrator login with freelancers or temporary help. Create specific accounts with just the permissions they need.
Configure Comment Settings and Spam Protection
Comments can boost engagement, but spam comments will destroy your site’s credibility fast. Go to Settings > Discussion and check Comment author must fill out name and email to reduce anonymous spam. Enable Users must be registered and logged in to comment if you want even tighter control.
The Comment must be manually approved option means every comment waits for your approval before appearing live. This takes more time but prevents spam from ever showing up publicly.
Install Akismet (it comes pre-installed with WordPress) and activate it with a free API key from WordPress.com. This plugin automatically catches most spam before it reaches your moderation queue.
Test Site Functionality Across Different Devices
Before announcing your site to the world, check how it looks on phones, tablets, and desktops. Most modern themes are responsive, but you should verify this yourself. Use your browser’s developer tools to simulate different screen sizes, or simply grab your phone and visit your site.
Test every major function: navigation menus, contact forms, image galleries, and any plugins you installed. Click through your main pages as if you’re a first-time visitor. Can you easily find important information? Do buttons work correctly? Are images loading properly?
Pay special attention to loading speed on mobile connections. Run your site through Google PageSpeed Insights to identify any obvious performance issues that could frustrate visitors or hurt your search rankings.
Building your first WordPress site really is that straightforward when you follow these simple steps. From picking your hosting and domain to installing essential plugins, each piece works together to create a professional website that’s ready to grow with your needs. The beauty of WordPress lies in its user-friendly setup process – you don’t need to be a tech wizard to get online quickly.
Your new WordPress site is just the beginning of your online journey. Start creating content, connect with your audience, and watch your digital presence take shape. Remember to keep your site updated and backed up regularly. Now that you know how simple the process can be, there’s nothing stopping you from launching that website you’ve been thinking about.

Saurabh Kumar is the founder of SaurabhOrbit.com, a hub for tech news, digital marketing insights, and expert blogging advice. With a deep passion for technology and digital strategies, Saurabh simplifies complex trends into actionable insights for readers looking to stay ahead in the digital world. My mission is to empower entrepreneurs, tech enthusiasts, and marketers with the latest tools and knowledge to thrive in the online space.